Image components or slides will display the uploaded image on the screen within eScreenz.
Image – Upload an image that will be displayed on the slide (either by clicking the “Upload” button, drag-and-dropping the image into the area, or pasting the image from your clipboard). Images will automatically be resized to fit the area on the eScreenz display (without resizing the image disproportionally). eScreenz recommends that images be the highest resolution of the display to prevent image degradation from scaling upwards.
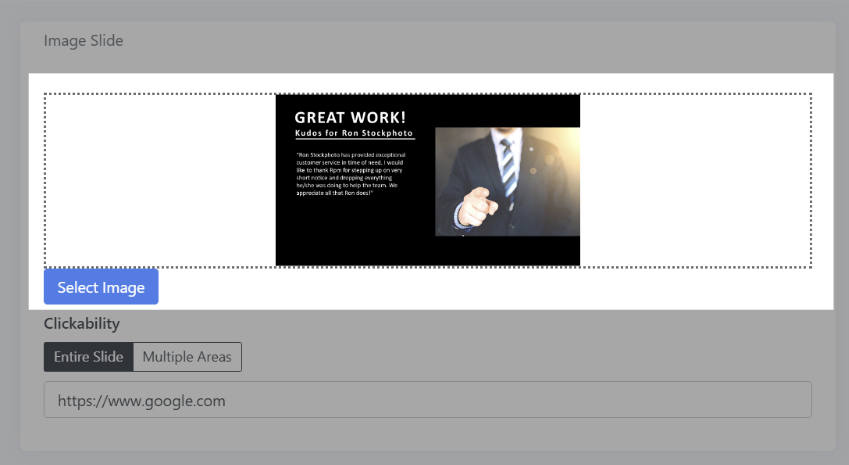
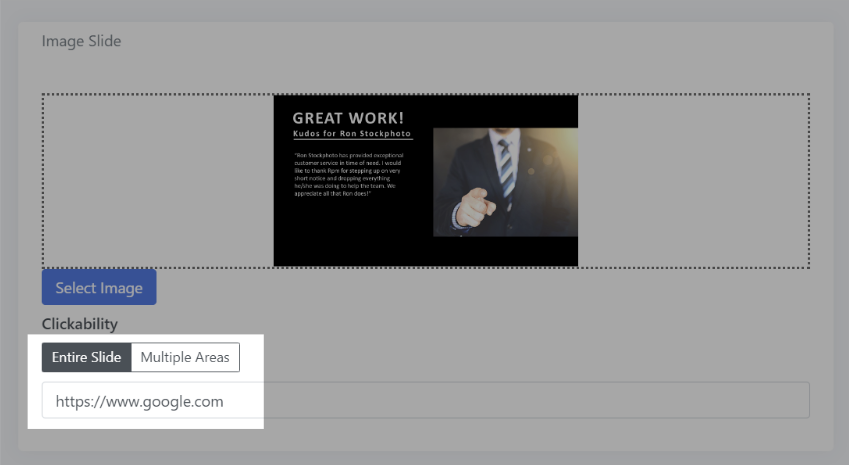
Clickability – Use this option to make the entire image, or portions of the image clickable. When the image is clicked, the website provided will open in a browser outside of eScreenz. In addition, other options for clickability are also available:
- #slide_name – A hashtag with a slide name will automatically navigate to that slide in the slideshow if available.
- :next – Moves to the next slide
:prev – Moves to the previous slide
- :home – Moves to the first slide
- mailto:email@yourcompany.com – Opens default email client to a new email to that address
- tel:1234567890 – Opens default phone app to start a call to that phone number (browser support for this functionality is required)
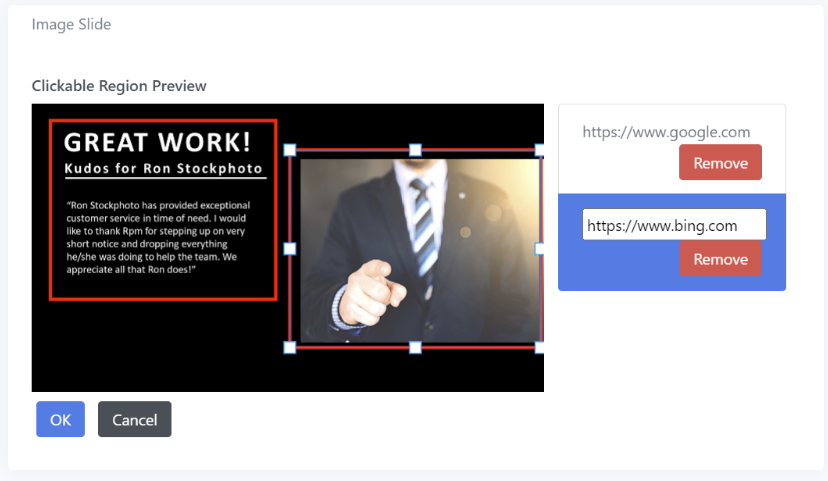
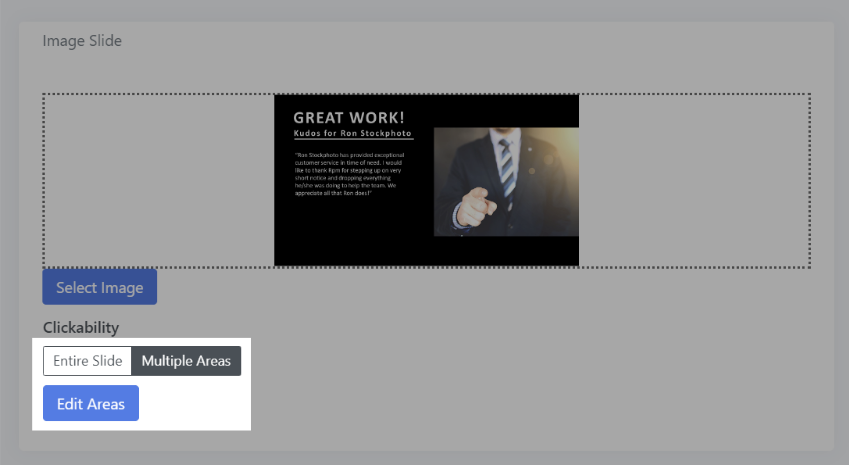
Multiple Regions – This will open up an editor allowing you to drag regions into your image. Each region can have a different target for clickability (either by a URL, or the additional options listed above).
To access multiple clickable regions, first click "Multiple Areas" under "Clickability", then click "Edit Areas".
In the hotspot editor, simply drag and drop out your hotspots, and edit enter in the URLs in the panels that appear on the right. To edit the link for a hotspot, click on the hotspot in the imgate, and the corresponding link URL in the sidebar will appear.
Click "OK" once you've created your hotspots to get back to the main component editor.